
Felting Your Knitting by Hand
- Donna Estin

- May 18
- 4 min read
Updated: 3 days ago
I used to felt in my washing machine, but now I only felt by hand. What prompted this change was the death of my old washing machine. I replaced it with a modern washer with all the bells and whistles. It's one big computer. It's constantly sensing the wash. I can no longer fill it up with super-hot water and let it agitate until my knitting is a firm piece of boiled wool.
So now I felt by hand. It takes longer. But it does allow more control over the felting process, letting you stop just when you want.


Watch the video "Felting Your Knitting by Hand" here: https://youtu.be/57HHQvSJVmI

For tips about felting by hand, read on...
About terminology, felting is the process of matting loose fibers together and fulling is the shrinking process that happens with knit items after the fibers are intertwined. They are different, but the term felting is often used in the broader sense and is used throughout this article.
Felting happens when heat, water, and agitation open the fiber scales. As they are agitated, they grab on to one another and lock together. When placed in cold water immediately afterwards, the felting process stops, causing the fibers to close into a tight, matted fabric.
If you’ve ever worn a felted or “boiled wool” jacket, you’ll know how dense and durable it is. It’s virtually windproof, yet still soft. It’s thick and cushiony which is why felted slippers are so desirable, and felted mitts are warmer than knit mitts.
Felting Cheat Sheet
Felted items shrink, so knit your piece larger than what you want. How much it shrinks depends on the fiber and process. Anywhere from 20-30% is a good estimate.
Once felted, you can’t re-block it back to the original condition. Felting is permanent.
Only natural fiber yarns will felt. The most common is 100% pure wool (not superwash), but you can also felt mohair, cashmere, alpaca and llama.
Felting hides knitting mistakes so no need to worry about stich definition.
Intarsia and stranded colorwork do not require that ends are woven in. Cut them and leave 2 ½”/6cm tails. Felting will secure the yarn ends in place, then trim after felting if needed.
The finer the fiber the faster it will felt.
Colors will fade which adds to the charm of felting. If using a white yarn and saturated darker color yarn, add ¼ cup of vinegar into the wash to help control this.
Pieces that are knit loosely work best for felting. Knit with needles 2-3 sizes larger than what the ball band calls for, or what you’d normally use for that weight of yarn. If your gauge is tighter, it will still felt, but will take longer and require more agitation.
What to Make
Hats, slippers, mitts, blankets, purses or bags, jackets, bowls are all good options.
How to Felt by Hand
Place your knitting in a sink and pour boiling water over it until covered.
Add a few drops of soap which helps lubricate the fibers and open the scales.
Let it soak until fully saturated.
If desired, wear rubber gloves and agitate your knitting by rubbing it together vigorously with your hands and kneading it like a loaf of bread against the bottom of the sink, for about five minutes.
Dip into a bowl of ice water, lift it out and continue rubbing.


Place knitting back into hot water (add more boiling water) and rub together some more.
Keep alternating between hot and cold, until pieces are felted and are the desired size.
Skip to "Finishing" section below
How to Felt by Machine (must have a non-locking lid or one that can be unlocked)
Place knit in a mesh bag to catch the lint and prevent it from damaging your washer. You can also use a zippered pillow case.
Put in washer with an old pair of jeans or tennis shoes. Some recommend using an old towel for agitation but lint can transfer easily to your felted piece.
Start a small, hot cycle with a bit of detergent.
Open the lid and check every 5 minutes to monitor the shrinking.
If the agitation cycle has ended, but your piece isn’t the size you want, start the cycle again.
It’s common to run this through 2-3 cycles before it’s felted properly.
Finishing (both hand and machine)
To stop the shrinking, rinse in cool water.
Roll in a towel and squeeze out extra water. Do not wring the towel. You want to preserve the shape.
Blocking
Cut away any stray ends that wiggled out during agitation.
Place your item on something that resembles the final shape:
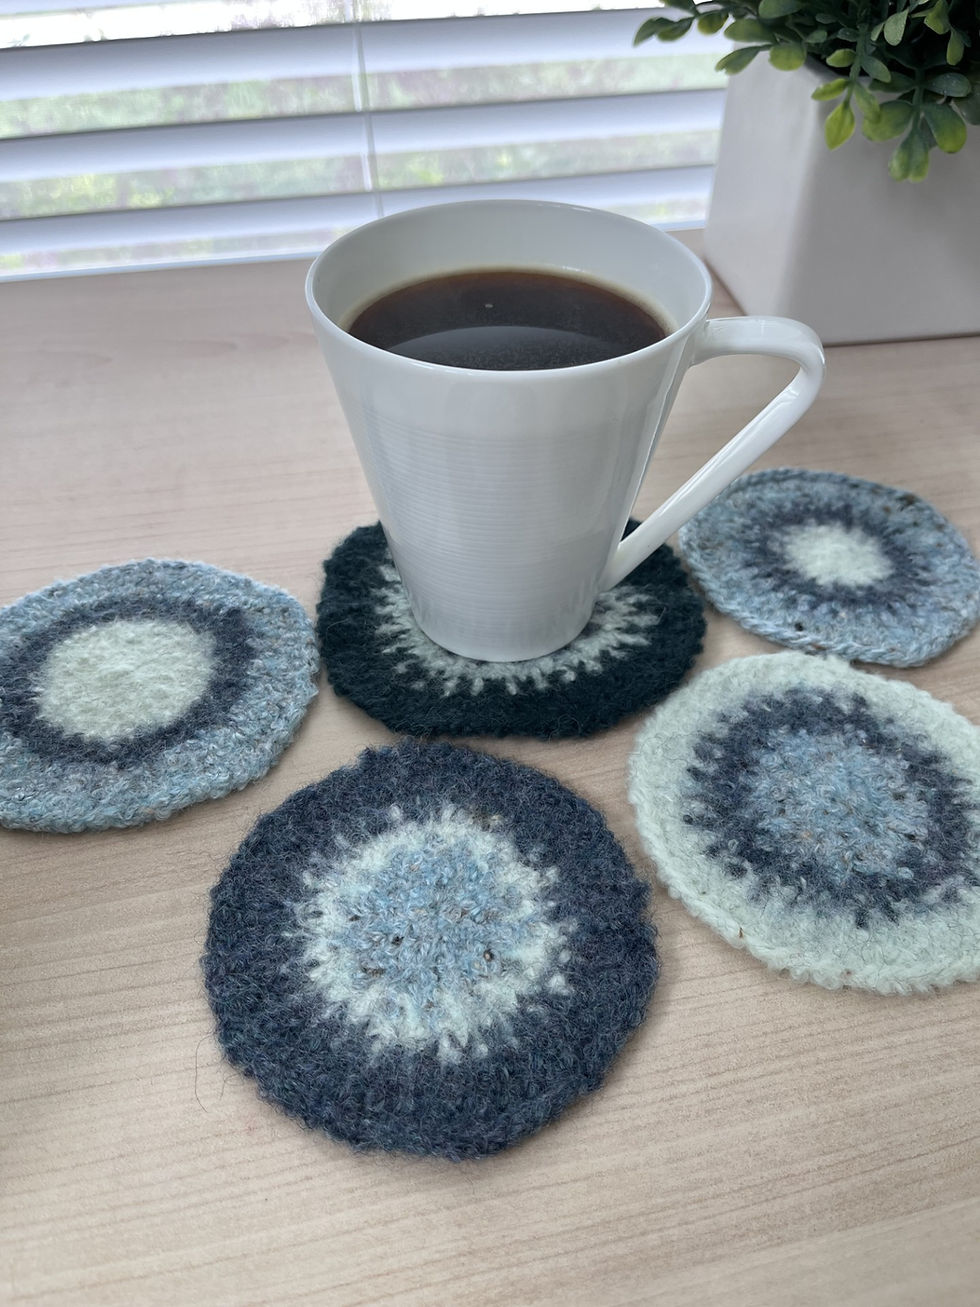
A coaster should be pinned flat on a blocking mat
Shape slippers and mitt by trying them on, then stuff with plastic bags or bubble wrap – anything that will help it hold its shape but not absorb water


Afterwards, if felted properly, you will be able to cut the felt. This is helpful if you want to cut away the outer edges or cut out a certain shape.
There's definitely a world of creative possibilities with felting so enjoy every experiment & share your pictures! For ideas and more inspiring projects to felt, add these books to your collection of knitting books...
References
Davis, Jane. Felting – The Complete Guide. Krause Publications, 2009.
Editors of Vogue Knitting. Felting on the Go. Sixth & Spring Books. 2005.
Epstein, Nicky. Knitting Never Felt Better. Sixth & Spring Books, 2007.
Hemmons Hiatt, June. Principles of Knitting. Simon and Schuster. 1988
Lion Brand. Felting Techniques. https://support.lionbrand.com/support/solutions/articles/17000035404-felting-techniques
Comments